Gundam Wing


BANDAI EG 1/144 WING GUNDAM
$16.90$14.90
$6.90
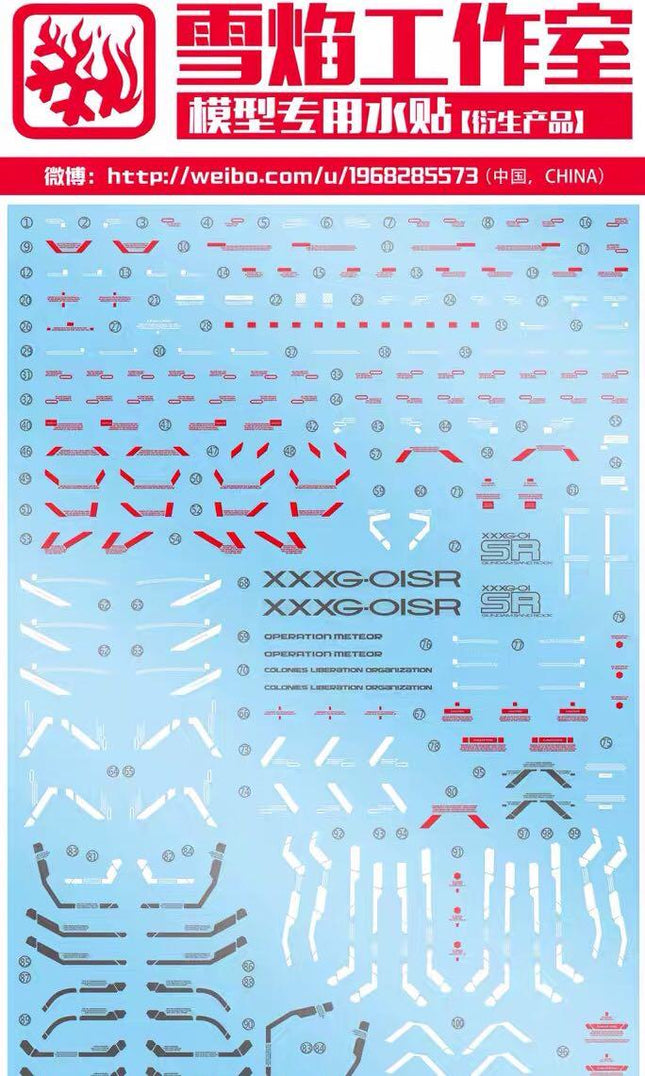
FLAMING SNOW RG-51 | 1/144 EPYON FLUORESCENT WATERSLIDE DECAL
$4.90
$4.90


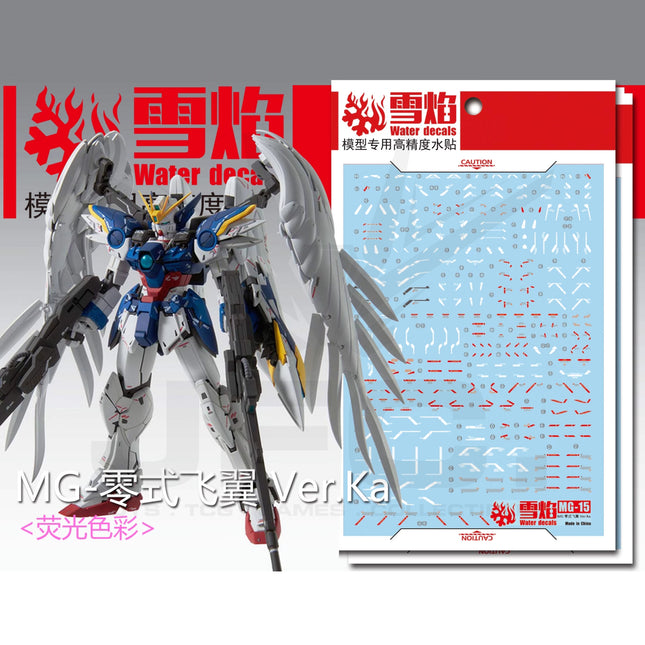
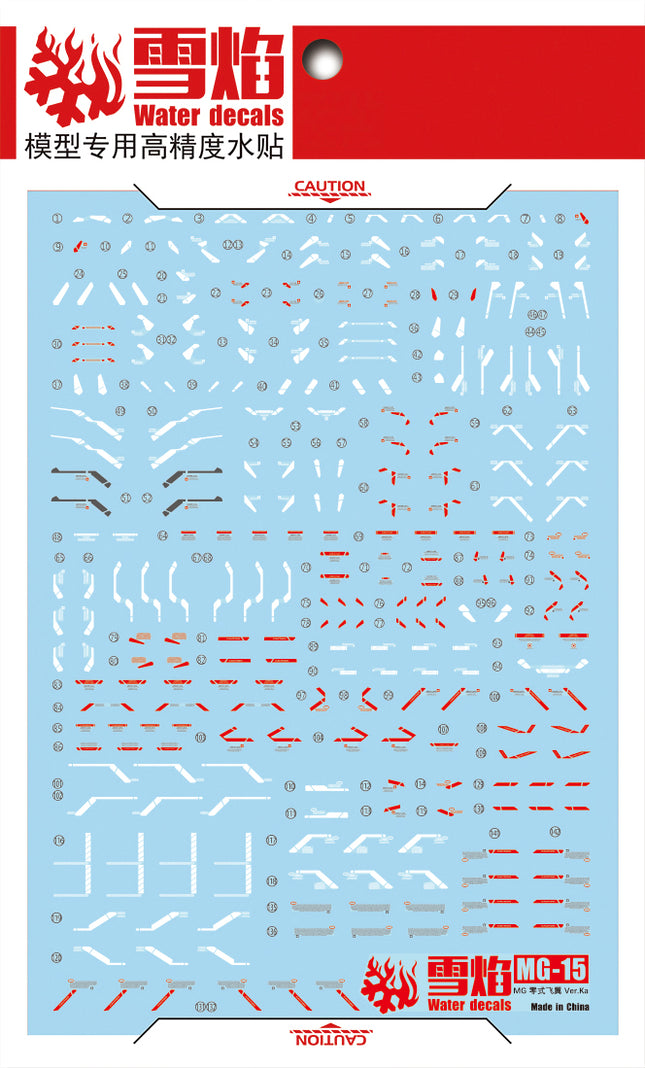
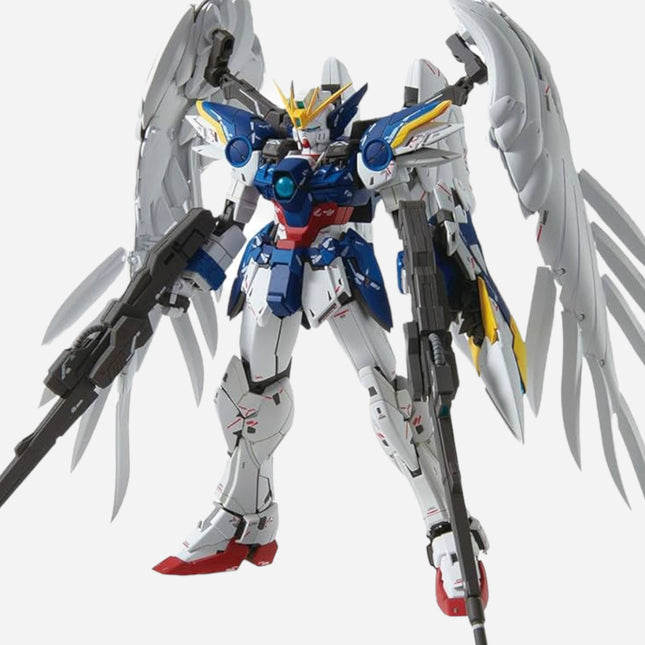
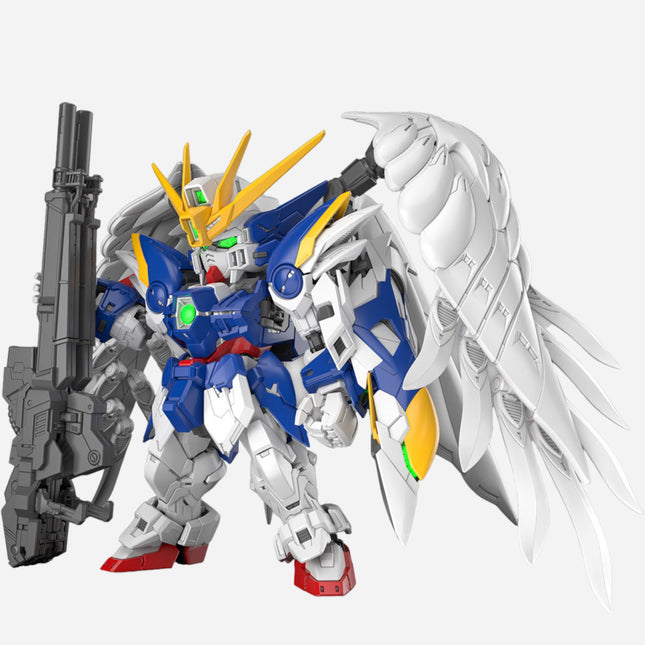
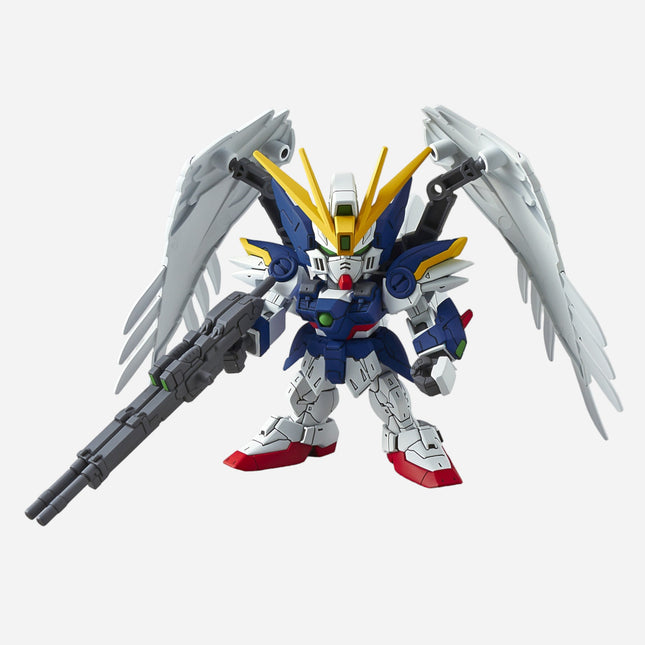
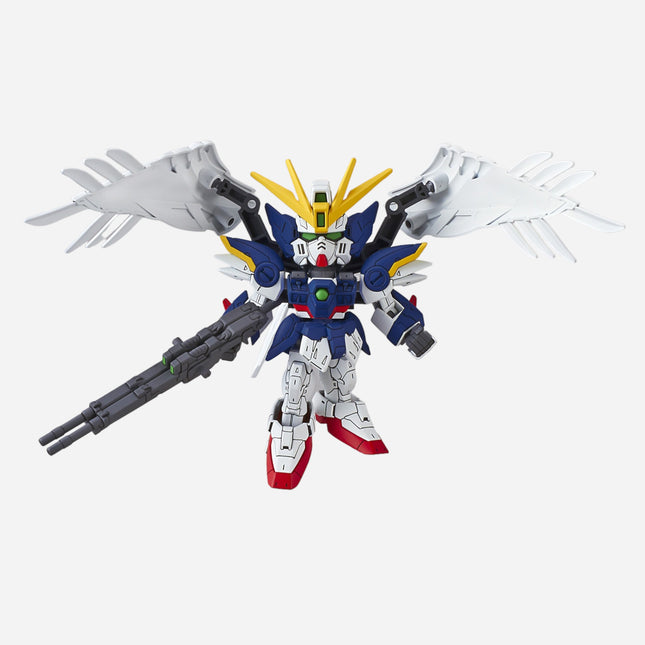
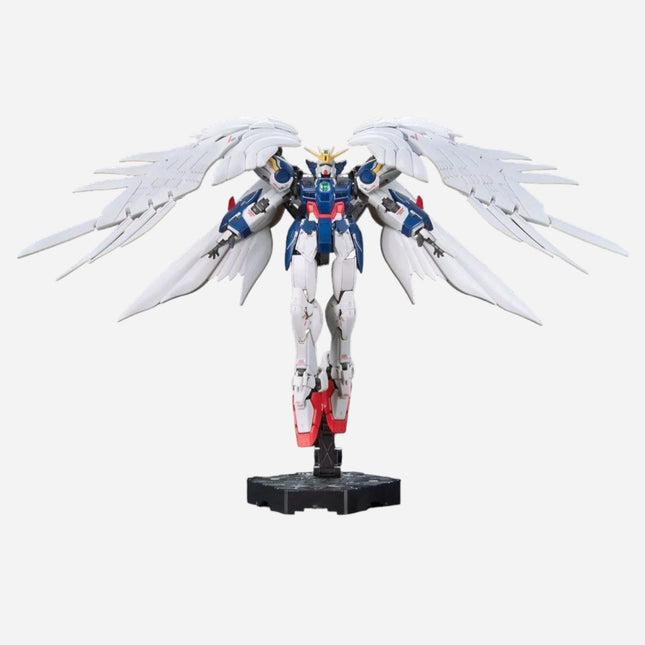
BANDAI RG 1/144 WING GUNDAM ZERO
$66.90$59.90
$4.90
$4.90
$4.90
Last stock! 

$4.90
$4.90
$4.90

$4.90
Last stock! 
$4.90
Last stock! 
$4.90
$4.90

$4.90
$4.90
$4.90

$85.90$76.90

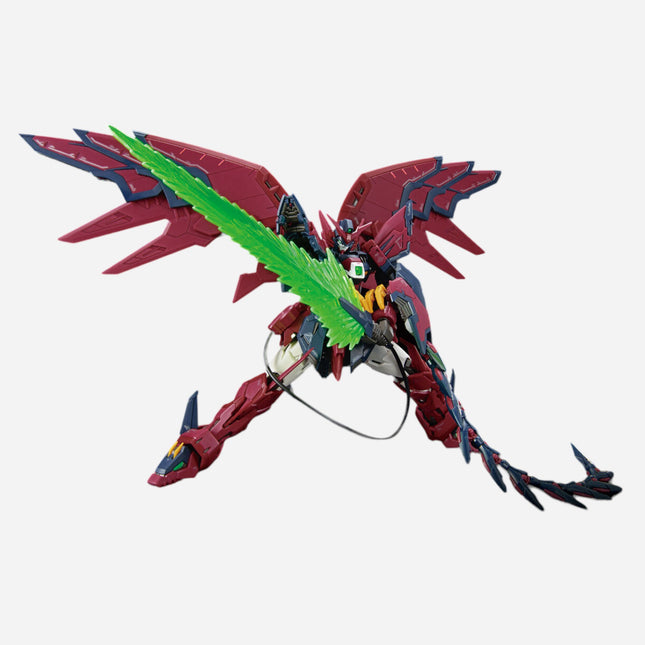
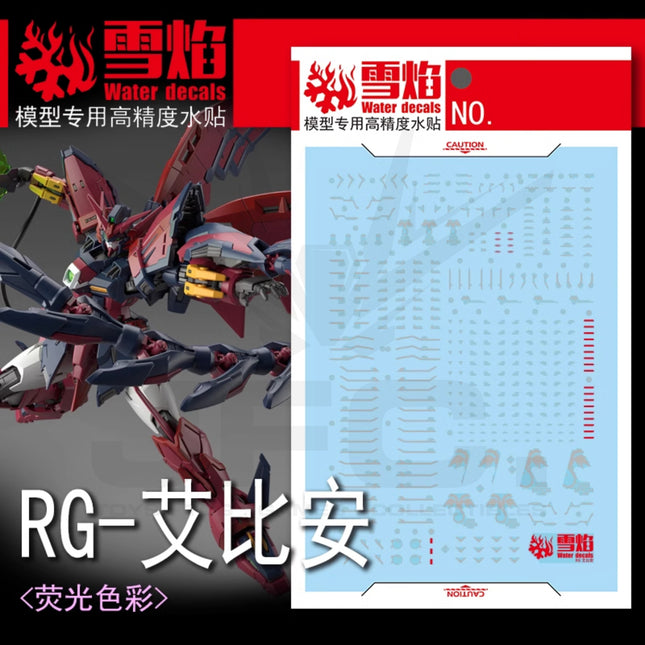
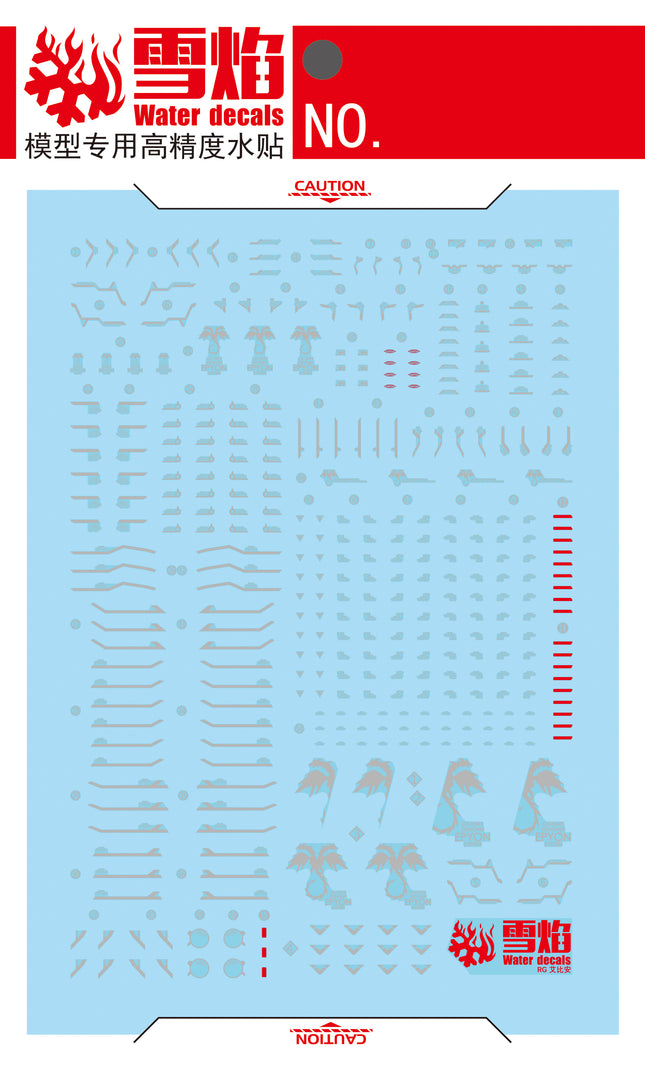
BANDAI RG 1/144 GUNDAM EPYON
$60.90$54.90
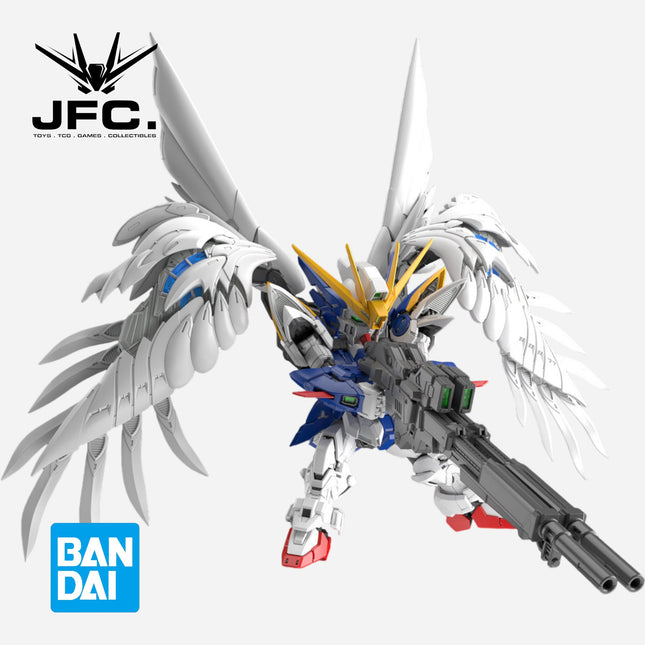
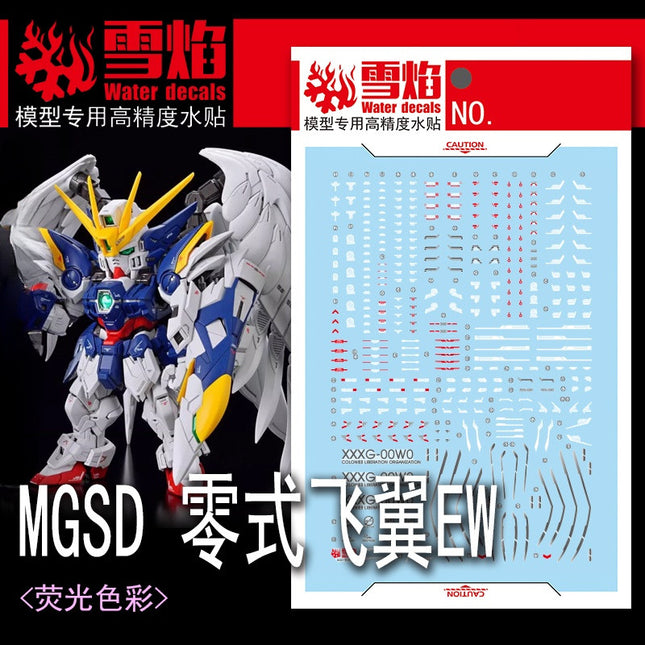
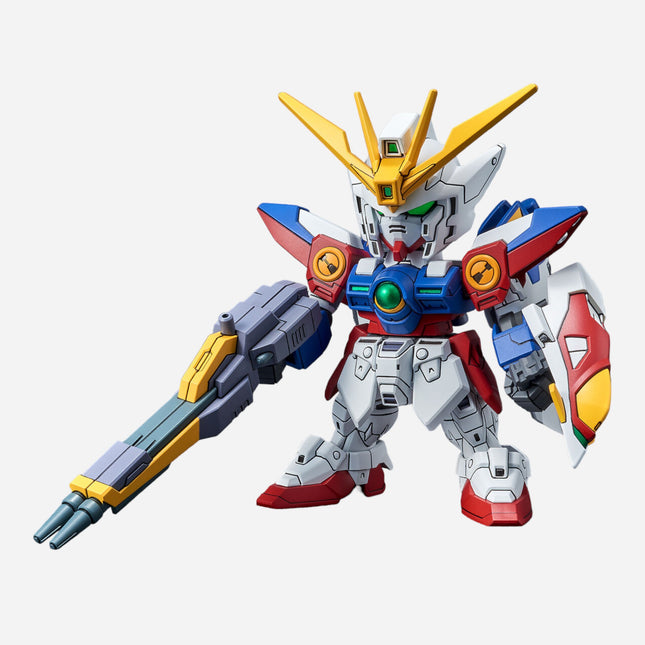
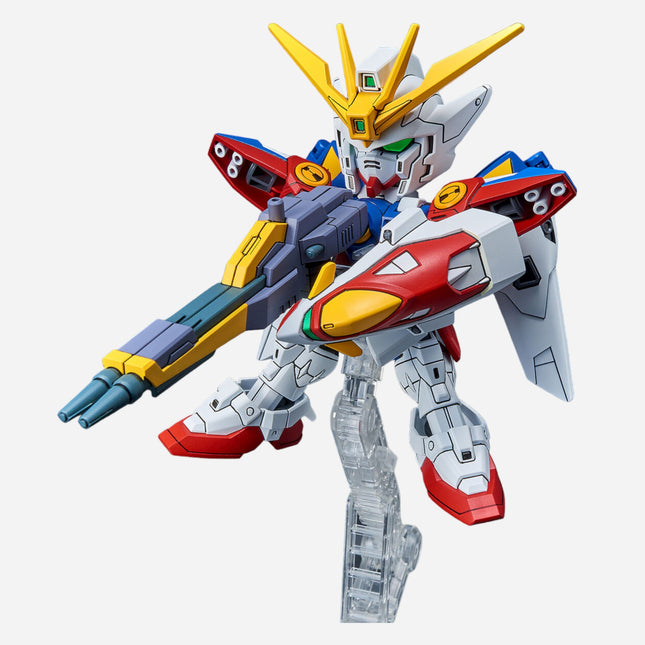
BANDAI MGSD WING GUNDAM ZERO EW
$69.90$62.90
$10.90$9.90
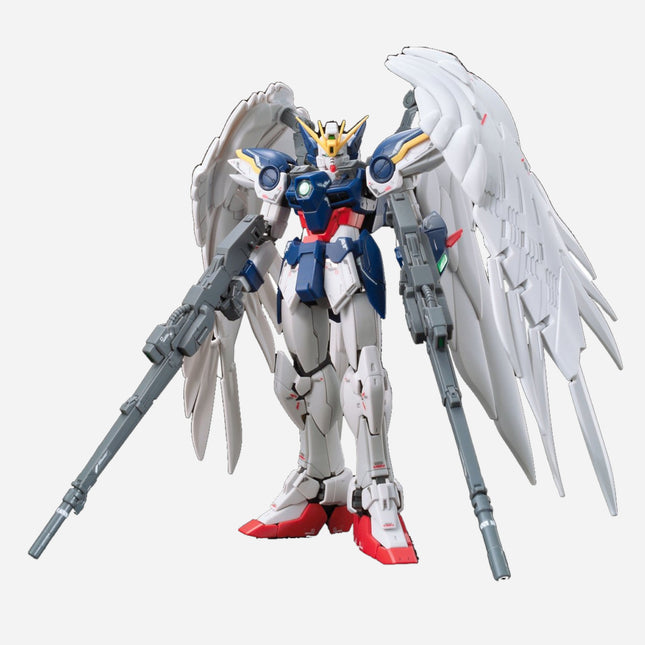
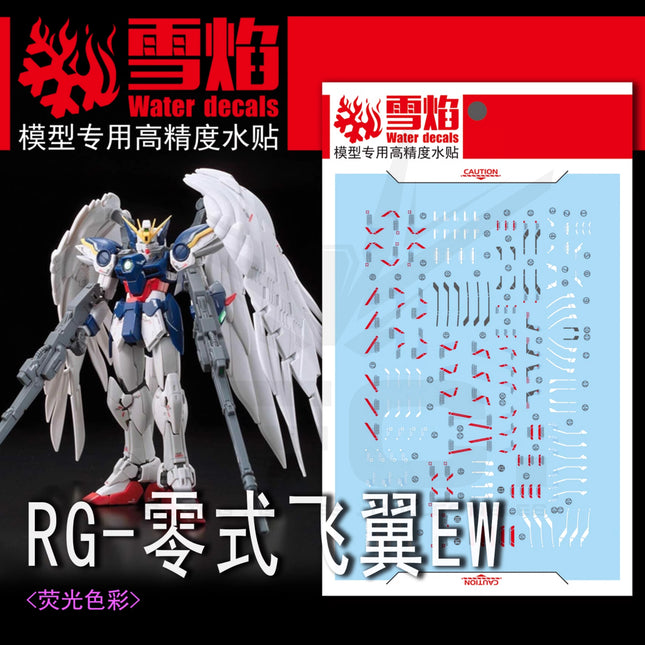
BANDAI RG 1/144 WING GUNDAM ZERO EW
$37.90$33.90
$10.90$9.90


